 back |
 home |
 next |
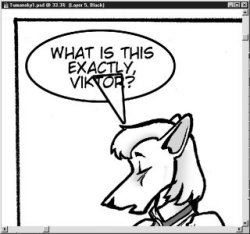
The rule on word balloon tails is the origin of the triangular tail is at the center of the balloon, and the point of the tail should point (when possible) to the mouth of the speaking character. To make a tail, use the Lasso tool with <shift> and <alt> held down. This forces the tool to draw flat-sided polygons, with the ends of the line segments defined for each mouse click. Draw an equilateral triangle in this mode, with the base evenly placed in the center of the ellipse (or at the center of the text), and one point aimed at the character's mouth. Once you have that done, use the same Stroke and Fill settings you used for the balloon.
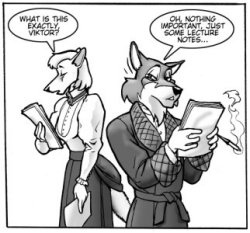
Now go in with the Pencil tool again, to "white out" the excess black lines, and rebuild the line junctions in black, until the tail merges neatly with the balloon layered behind the text. When you have the balloons and the text looking the way they should, merge the text and the balloons into a single layer, beneath the final ink layer. Your results should resemble the example on the left.
|
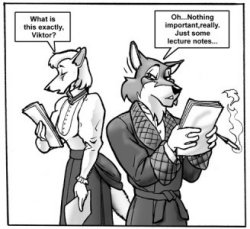
Even if you do not have a hand-lettered font on your computer, you can still use these techniques to add that last little bit of polish to your work. Also, using the computer to letter means that hideous chore is relegated to mere typing and layout. On the right is an alternate word balloon and text style I'm sure many of you will recognize. |
| this tutorial | ||||
 back |
 home |
 next |
||
| Tutorials | ||||
 back |
 Home Page |
 next |
||


